Installing Solar

I installed a 4kW solar array.

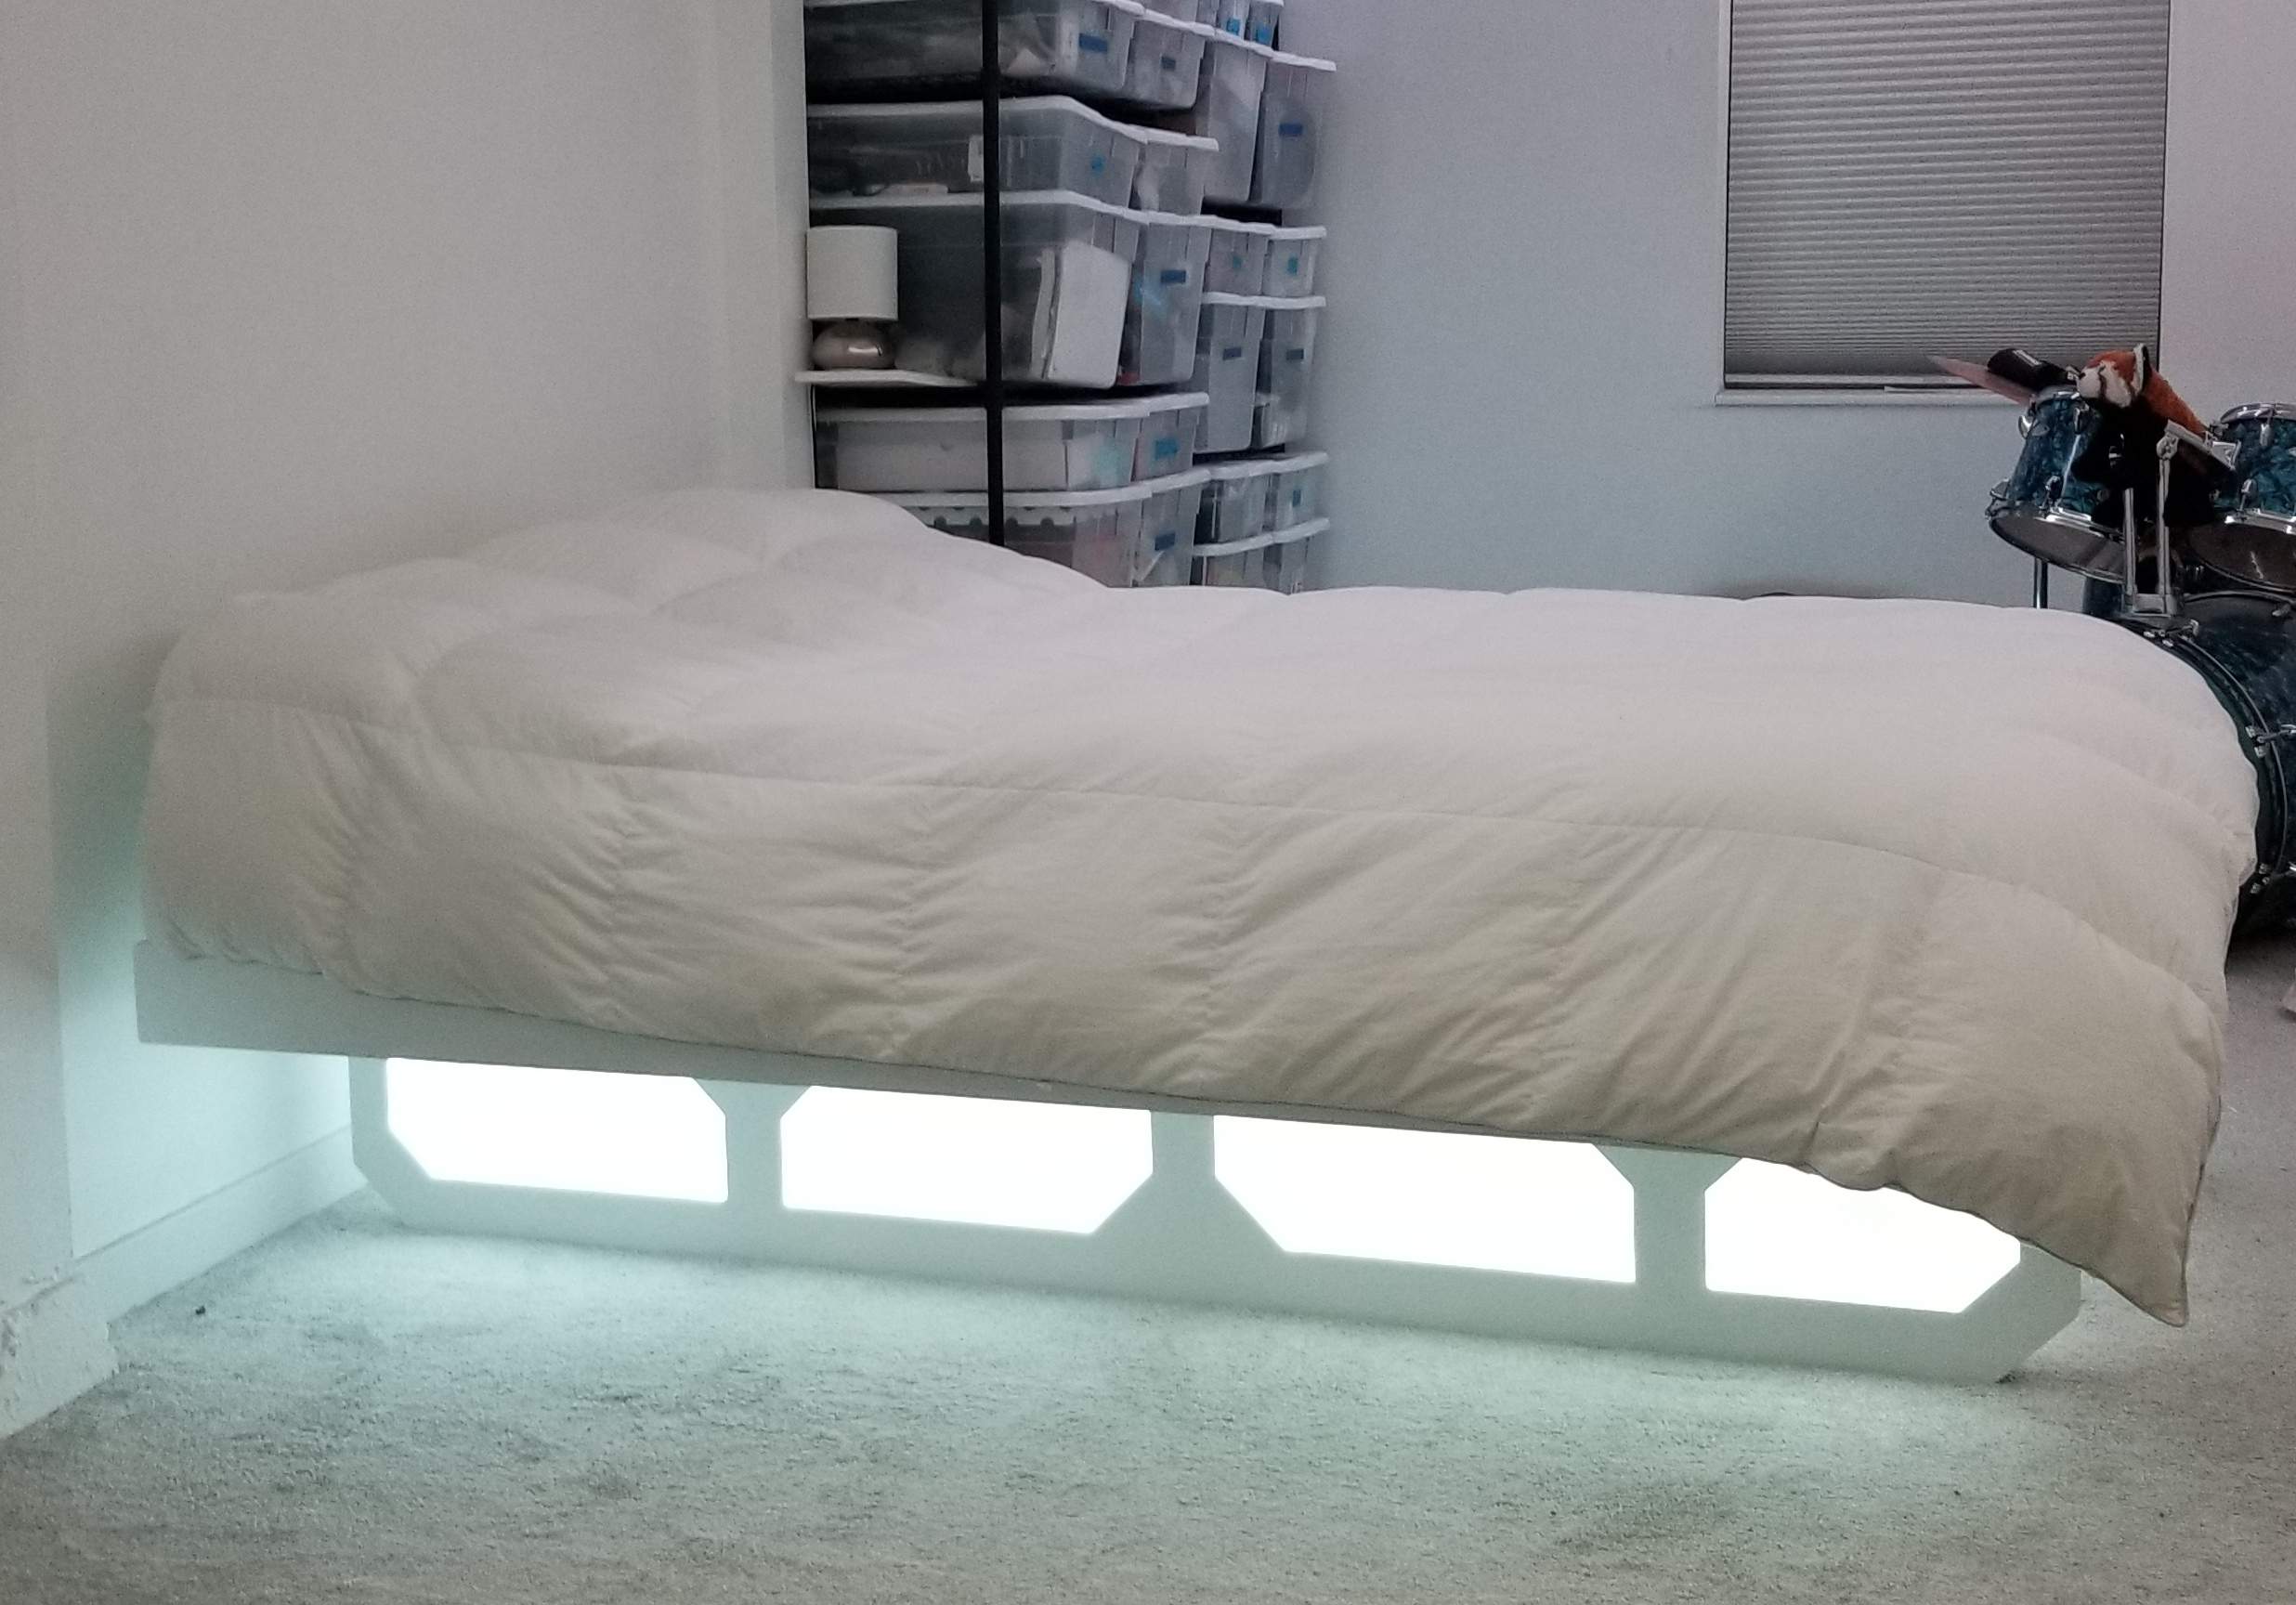
In an effort to address my eco-anxiety, and reduce our carbon footprint and save money long-term, I installed solar panels on our roof. This was an extensive project, though. The first step was replacing the old roof. We didn’t know how old it was, and it was showing plenty of signs of wear, so we hired a contractor to install a standing-seam metal roof, which minimizes penetrations, is much more energy efficient, lasts a super long time, is recyclable, and since the old shingles were left in place it added much less landfill waste. The installers were able to do it in a day, and a month later there was a hail storm with 1″ stones that damaged every house in the neighborhood except ours. That was a fortuitous decision for us. We have also already seen a reduction in our energy costs because of the better heat management and venting of the roof. The second floor is a lot more livable now.

The newly installed blue metal roof. Looks great!
A panorama of the top of the roof on the back side. This is the south facing side and has a much lower pitch.

With the roof complete, I ordered the solar panels from a wholesale company that put together the plans for us to submit. There were some challenges with that, and they shipped the parts before I had city approval, which was an issue because the city rejected the plans immediately. It turns out that the plans didn’t include structural drawings, and the wholesale company wanted a lot of money to generate them. After talking to some people, it turns out that our existing roof was woefully undersupported. We found out from our neighbors that when the neighborhood was built, many of the houses were designed with expansion in mind, and that the basic floorplan could have a low pitch roof and be only 1 story, a high pitch roof and have a small second floor, or a mixed pitch roof and have a larger second floor. It turned out that the rafters for our house had been for the high pitched roof, but then shifted to a low pitch to make room for the second floor. HOWEVER, this made them overspanned (too much load on a 2×6 across a long horizontal area), AND because they were originally cut to 45 degrees at the end, and moved up to 12 degrees, there was a huge gap between the rafter and the top ridge board. The whole top of the roof was sortof unsupported. Whether or not solar was going to happen, I needed to fix this problem, and we had JUST gotten the new metal roof installed.

A view up into the attic. The left side of the ridge board is the 45 degree front pitch with rafters flush against the ridge board, and supported by a knee wall in the middle. The right side is improperly cut 2×6 rafters that span far longer than they are rated, with 1×8 boards scabbed on for some reason. This shouldn’t be standing.

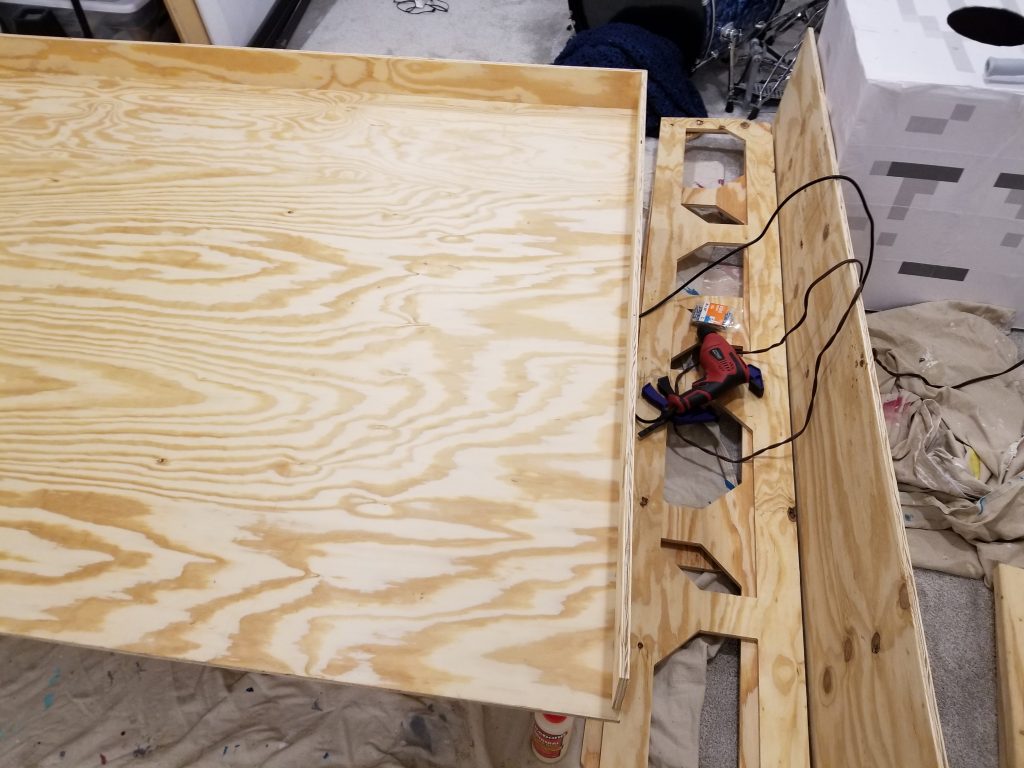
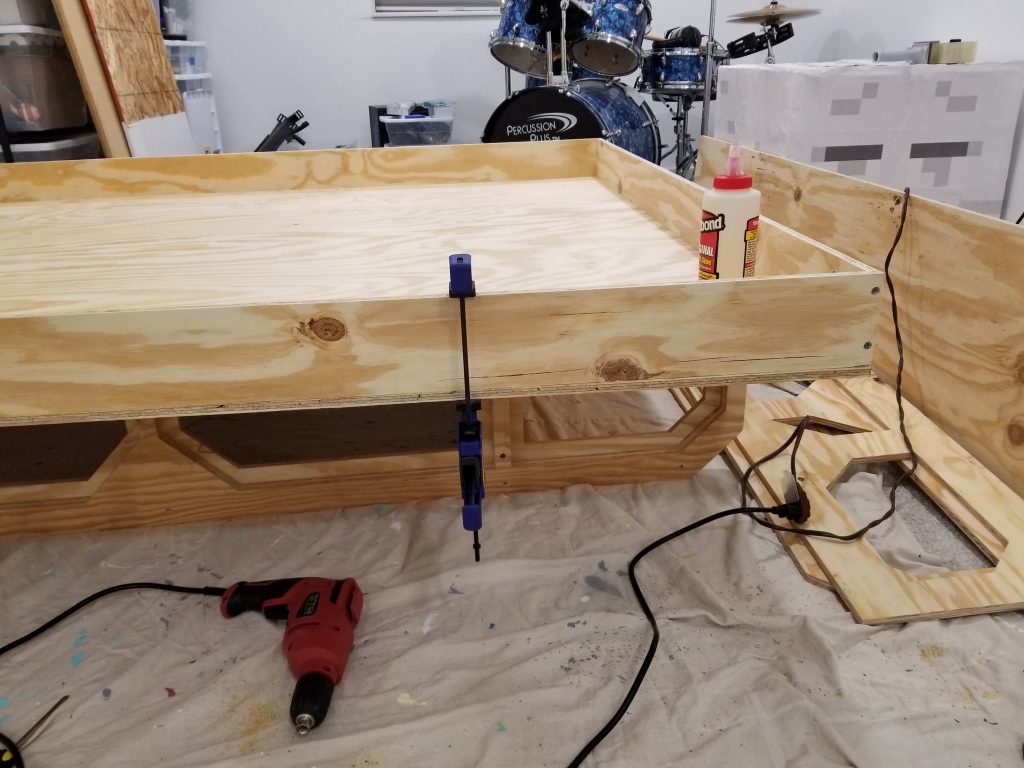
After a lot of research and calculations, I managed to come up with a plan to sister new rafters to the old ones using fancy MSR2400 rated 2×6 boards, which are much stronger than the older ones and rated for the span I needed. I had to special order them, but the plan was approved and I could move forward.

The approved plan I drew up involved sistering new fancy rafters to the old insufficient ones.

For many days I would spend an hour or two up in the rafters. I had to cut them to size outside, then slide them in through the gable vent on the side of the house, then maneuver it into place, jack it up to take on the load, and bolt it to the ridge board and the sister rafter. It was hot and exhausting and difficult to move in a small space, and I had a watertight tyvek suit that was constantly wet and a respirator that made me fear drowning in my own sweat, but I got it done. The inspector was simultaneously impressed that the roof had managed to not cave in before, and impressed that I had been able to do what I did.

Sliding the rafter into place. Each one had to come in through the vent at the far end, then rotate into place.
I inserted new machine graded 2×6 lumber designed to span the correct distance, and sistered them with lag bolts to the previous rafters. These were cut at the correct angle and properly fastened to the ridge board. It took many hours of work to get each board in place, working in very cramped spaces, and the mask was necessary because of the fiberglass insulation.

With the rafters installation complete and the roof secure, I could focus on the actual solar installation. I’d had the parts in the garage for a few weeks, and it was getting colder and colder, so I was anxious to get it all installed. This part went fairly smoothly in comparison to the rafters. The racking went up in a day, the panels in another. I tied a rope to each panel and slid it up the 45 degree side of the roof on top of a blanket, easily pulling each of the 10 panels up to the roof. After that I worked on the wiring.

Sliding the panels up the steeper side of the roof.
Installation of the racking is complete, using a fastener that doesn’t penetrate the metal, allowing for a long-lasting roof. The first few panels are up, too.
All of the panels are on, and we’re ready for the electrical work.

It was my first time doing EMT conduit, and it was somewhat obvious in places, but I got it done. Everything was in place, and the inspector came to check it out. Unfortunately, I failed the first inspection, for some pretty minor things. I ordered some parts that afternoon, they arrived the next day, I installed them the day after, and then she came back for another inspection two days after that. Then I passed with flying colors, and she told me what a good job I had done. As a gifted millennial, getting that kind of validation and a literal report card from an authority figure, that really hit the spot. I buttoned everything up, set up the last of the web-based portion of the installation, and turned it on!

The plan for the electrical work. It was pretty easy to follow, and the actual implementation looks exactly like the plan.
The side of the house shows the conduit carrying the power down from the solar panels into the basement to the combiner box, then out to the external disconnect, then back in to the main service panel. Lots of conduit bending! In the top left you can see the vent through which all the rafters were inserted, which hasn’t been nailed back in place yet. Ask me how I got the rafters in there!

Conclusions

We’ve had an energy consumption monitor running for a little over a year, which was intentional as I wanted to design an appropriately sized solar installation. As designed, this will offset over 90% of our consumption over the last year. We have net metering, which means in the winter we should use the extra power from what we generated in the summer. Since I just turned it on there’s no immediate metrics worth sharing.

Repairing the rafters was tough but necessary work. Anybody else would probably have taken off the roof and come in from the top, which would likely have taken less time and been more sound, but also cost a lot more and risked damaging the roofing material we had JUST installed. The solar installation itself was pretty easy in comparison, and while the wholesale company I worked with was a bit of a pain in the ass, and they didn’t provide much in terms of instructions needed for the electrical portion, it still came together OK.

The overall cost is outlined here:

Permits$71
Unbound Solar (wholesaler package)$10125.05
Other Parts$794.65
Lumber$468.54
Total$11459.24

Our current consumption is roughly 5475kWH/year, and the PVWatts calculator estimates we will generate 5084kWH/year. With the lower AC needs thanks to the improved roof, we may end up at 100% of our consumption instead of ~90%. Since electricity is currently about $.16/kWH, this amounts to savings of $876/year, putting breakeven at 13 years. OUCH. And that’s a lot lower of a cost than if we had paid someone else to install. It’s very possible that energy prices will increase, lowering our breakeven point. But the big kicker here is the tax incentive we get, which is 30% of the installation cost. That brings our total cost to $6875.54, with a breakeven of 8 years, which is a lot more reasonable, considering the panels are guaranteed for 20.

Competitive Jigsaw Puzzling

In December I started doing competitive jigsaw puzzling. This is a sport where people are all given the same puzzle, and none of them know what it is before the competition starts. At the same time, everyone opens the puzzle and it’s a race to be the first to complete it. Categories include individual 500 piece, individual or pairs 1000 piece, and teams of up to 4 doing 2 1000 piece puzzles. I’ve only been doing 500 piece. My first competition I barely made it before the cutoff time and was at the back of the pack, but I hated the image and really struggled through it. I’ve gotten significantly better in the last few months, and now I’m doing a little over an hour in competitions. I practice a lot on the same puzzles over and over, and on some of them have gotten times below 40 minutes. World competition times are typically in the 34ish minutes, so I have a long ways to go.

It’s a fun hobby, and I like that I can start and be done within two hours. It’s a clearly defined project with a definitive end, and if I don’t like it I can bail, too. Too much of my other life projects are ones where it lasts far longer than I want, and bailing isn’t really an option for me, so this is nice.

Building My Bed

Since moving in, I had planned to have a Murphy bed, and style it in the same theme as the rest of the room; spacey without any specific branding. Here are the after photos. Continue on for the full process.

To start, I modeled it in CAD, and here are some renders:

From an angle. While the render shows hollow space, the intent was to put lighting and acrylic in the gaps.
From the bottom. The horizontal pieces will be lit, and the lower one will hold a piece of artwork by my sister.
The bed in its flat position.

When I purchased the materials for doing my basement renovation in 2019, I also purchased four sheets of 1/2″ plywood and stored them at Sector67. They were there for more than two years until I finally got around to doing the project. And it turned out I was one sheet too short. I had to pick up a fifth.

The design involves the bed and the sled, where the bed is 1/2″ plywood 61″x79.5″, with 4″ high walls made out of 1/2″ plywood. While a queen size mattress is 80″, the space where the unit will go is only 80″ tall, and I needed room for the walls. Additionally, it turned out that the space is sloped slightly, so I didn’t even have the full 80″, and my 1/2″ margin was completely eaten up, making sliding it in to the space a little difficult. Fortunately the mattress still fit into the 78.5″ space. The sled part is 4 sheets of 1/2″ plywood stacked together, with the inner pieces having cutouts that are larger to accommodate the LED strips and screws for the acrylic.

The various components.
The CNC panel router at Sector67 made quick work of all the cuts.

I used the CNC panel router at Sector67 to cut out all of the pieces, which gave me very accurate and very smooth edges. After that I sanded and built the bed portion, using screws and wood glue, clamping it together while it dried and I put in the screws, allowing me to re-use the clamps elsewhere. I used 1 1/4″ wood screws, and countersunk the holes pretty deep so that after everything I could use wood filler to cover up the holes. For the sled portion I glued and screwed 3 of the sheets together, leaving the 4th off so that I could install the electronics. I sanded everything to 220 grit and painted using oil-based primer, then sanded everything again. With the sled and the bed separate still, I painted the parts with a alkyd paint with a couple coats. Then I screwed the bed onto the sled, but left the countersunk holes exposed in case the two ever need to be taken apart for transportation. I’m confident that it would not fit out of the basement unless taken apart.

Screwing and gluing three sheets together, leaving the fourth off so I could install electronics.

I experimented with a few options for the acrylic, trying to rough up the surface of clear acrylic, spray painting the back side, and trying out other materials, but it turned out the best option was translucent acrylic. A single 4×8′ sheet was plenty for everything, and I cut everything 1/4″ inset so there would be plenty of space for screwing it in, plus room to get it in around the light strip, and some slop in case I didn’t align it properly. I used the laser cutter at Sector67, which made quick work of it.

For the light strips I used basic 12V RGB light strips, and two WiFi controllers. I wanted to be able to control it from my Alexa or the IR remote, just like the other strip lights in my room. However, I only wanted one outlet, and I wanted it to be a neatly enclosed box, so I took them apart and wired the power supply to deliver to both, then put them in a spare project box I had and mounted that to the sled. The tricky part is that it had to be in a location where it was out of sight and wouldn’t have any problems when up or down. Inside the sled I routed the strips and drilled 1/2″ holes through the small parts. I was able to route a whole side of the sled with one continuous strip, then use some wire to route to the other side through the middle of the sled, then use another single strip to route the other side of the sled. The other controller routes up to the horizontal pieces. I put a piece of translucent plastic in the center of the horizontal pieces to support the large acrylic pieces, especially since one of them could have significant weight on it from the art piece. Finally, since the adhesive of the light strips isn’t that great on wood, I used staples every few inches and especially in the corners to hold the strips in place. This was very difficult, as the staple gun was too wide, so I needed to hammer in each staple individually, and they didn’t like that. Additionally, if you nick the strip even the slightest bit, you risk shorting a section of the strip, so I ended up needing to do some surgeries to replace a few sections.

Once the wiring was done, and the acrylic was attached to the wood, I thoroughly vacuumed the insides, and closed them up, drilling and countersinking holes, then clamping them together while I screwed to minimize any gaps. I painted immediately after to make sure the inside was sealed from dust ingress. After a couple coats, everything was done.

After assembly I did additional coats of paint to hide the lines and screw holes and other blemishes.

The final part of the process was attaching the art piece my sister Betsy had done, and putting a strap in to hold the mattress and prevent it from falling out. The strap was easy enough; I had plenty of leftover webbing and clips from Wacky Dancers, and it’s not even noticeable under the fitted sheet. For the art piece I drilled a hole in one leg, then smoothed a face of a joint that made contact with the bed and drilled and tapped a hole in the face. Then I drilled a hole in the bed and put a bolt into the art piece. This way the art piece would stay in place when the bed was in either orientation, and the sled was designed intentionally so that the art piece would have a little bit of clearance so it wouldn’t slide against the carpet.

The mattress could fall out when upright, so I attached a strap that sits underneath the fitted sheet. You can’t even tell it’s there.

That’s it! After connecting it to my Alexa, everything was complete. The bed sits tucked under the HVAC bulkhead and opens up a lot of floor space in my room. It’s not very light, but I can manage to get it up and down. Springs or pneumatics aren’t really an option because the bed has no extra vertical clearance.

The final product again.

Here’s a breakdown of materials:

ItemCountCostExtended Cost
1/2″ 4’x8′ BCX sanded plywood5~$40$200
1/4″ 4’x8′ white translucent acrylic1$80$80
Dutch Boy Platinum Plus Cabinet, Door & Trim White Satin Paint, 1 Gallon1$48$48
Conco Pro Step One P008 Interior Alkyd White Quick Dry Stainblocking Primer/Sealer1$27$27
#6 1/2″ Flat Head Wood Screw 50ct1$2.17$2.17
#6 1/2″ Zinc Pan Head Construction Screw 50ct2$2.10$4.20
#8 1 1/4″ Phillips Flat Head Wood Screw 100ct1$5.09$5.09
#8 3/4″ Phillips Flat Head Wood Screw 150ct1$5.09$5.09
Heavy Duty Staples1$5.98$5.98
Titebond I Wood Glue 16oz1$4.38$4.38
Smart WiFi LED Controller with 24-key remote for RGB Light strip2$9.99$19.98
RGB LED Strip Lights 5M 300LEDs 12V3$13.99$41.97
Power Supply, 12V, 5A1$12.99$12.99
Total:$456.85
ToolOwner
CNC Panel RouterSector67
Table SawSector67
Belt SanderSector67
Corded DrillSelf
Various ScrewdriversSelf
Paint brushesSelf
SandpaperSelf
N95 RespiratorSelf
EarmuffsSelf
6in Bar ClampsSelf
Painter Drop ClothsSelf

Nerd Nite Madison 063 – The Other Side of the Buy Box

In January 2019 I gave a presentation at Nerd Nite about my experience selling Wacky Dancers on Amazon. There’s no video, but someone recorded audio. I finally got around to syncing it with my slides, so if you didn’t get to see it then, here’s as close a chance as you’ll get. Also, an update since then; we’ve sold over 450 dancers, and are no longer offering our product for sale since we have no more inventory.

Gluten-free, Dairy-free, mostly Sugar-free Pecan Pie

This turned out really well. I modified my cherry pie recipe. Before starting, put 1/2 cup shortening in the freezer to get cold. Then work on the filling, then the crust, then put it all together and bake it.

Filling

  • 2 Tbsp quick-cooking tapioca
  • Pinch of salt
  • 1 Cup sugar substitute – I used 1/2 Stevia and 1/2 Agave nectar.
    1/2 Cup sugar substitute is 1 Tbsp Stevia, and the other 1/2 Cup sugar substitute is 1/3 Cup Agave nectar.
  • 3 Tbsp Maple syrup (the not-quite-sugar-free part of the recipe, but the maple syrup flavor is important, so *shrug*).
  • 1/4 Cup water

Mix the things together in a small sauce pan, then heat over medium high heat until it’s boiling for a bit, stirring constantly. It’ll get pudding-y, which is great. I don’t like my pecan pie to be runny after it’s baked. Take it off the heat and add the next two ingredients in order. Then work on your crust.

  • 1/2 Tsp vanilla extract
  • 2 Cups chopped pecans + 1/2 Cup not chopped pecans (for decoration on top)

Crust

  • 1 1/4 Cups gluten free flour. Bob’s Red Mill Gluten Free 1-to-1 Baking Flour turned out great and was cheaper than other gluten free flours.
  • 1 Tablespoons sugar substitute. I used Stevia, which has a conversion rate of 1/3 tsp -> 1 Tbsp sugar.
  • 1/4 Tsp salt.
  • 1/2 Cup cold vegetable shortening. The cold part is important. If it’s too warm it gets too melty and makes the crust seem wet so it sticks and won’t roll. Seriously, this makes a difference. Just put it in the freezer while you make the filling.
  • 1 Eggs.
  • 1/4 Tsp apple cider vinegar (not sure why but it was in the recipe I borrowed from.)
  • Up to 3 Tbsp cold water.

Make it like a regular pie crust. Mix the dry ingredients together, then cut in the shortening using forks until you have pea sized pieces. Add the eggs and vinegar and mix some more. Then take one tablespoon at a time of the water and add it to a small part of the crust and mix it until it’s crust-like. Do that until you’ve gotten the whole crust. Then flour a table and roll it out to make your crust.

Bake at 350

Preheat the oven first. Put the crust in the bottom of your pie tin and flute the edge. Then put in the filling. Then delicately put on some decorative half-pecans in a pattern. Protect the crust with a ring of tinfoil around the edge. Bake for 20 minutes. Take the tin foil off and bake for another 25 minutes. Take it out and let it cool.

Not runny! The tapioca did its thing perfectly.

Gluten-free, Dairy-free, Sugar-free Cherry Pie

I’m not going to write some super long back story behind this pie. It’s a good recipe. It took me three tries to refine it. I made it for my partner, and she really liked it.

Filling

I tried corn starch but it wasn’t very good. I tried all Stevia but that left a bad aftertaste. This filling nailed it:

  • 4 Tbsp quick-cooking tapioca
  • 1/8 Tsp salt
  • 1 Cup sugar substitute. Doing Stevia is ok, but I didn’t like the aftertaste so it turned out 1/2 Stevia and 1/2 Agave nectar worked out perfect. 1/2 Cup sugar substitute is 1 Tbsp Stevia, and the other 1/2 Cup sugar substitute is 1/3 Cup Agave nectar.
  • 1/4 Tsp plus a smidge of almond extract. This is important. Almond extract smells like cherries. Try it. It adds a bunch of flavor.
  • 1/2 Tsp vanilla extract. Because you should always add vanilla to everything.
  • 4 Cups pitted cherries. Or 3 cans of tart cherries in water.

Mix the dry things. Add in the wet things. Then add the cherries. Let it sit while you make the crust. I’m not kidding; the tapioca needs some time to do its thing.

Crust (enough for a top and bottom)

  • 2 1/2 Cups gluten free flour. Bob’s Red Mill Gluten Free 1-to-1 Baking Flour turned out great and was cheaper than other gluten free flours.
  • 2 Tablespoons sugar substitute. I used Stevia, which has a conversion rate of 1/3 tsp -> 1 Tbsp sugar.
  • 1/2 Tsp salt.
  • 1 Cup cold vegetable shortening. The cold part is important. If it’s too warm it gets too melty and makes the crust seem wet so it sticks and won’t roll. Seriously, this makes a difference.
  • 2 Eggs.
  • 1/2 Tsp apple cider vinegar (not sure why but it was in the recipe I borrowed from.
  • Up to 6 Tbsp cold water.

Make it like a regular pie crust. Mix the dry ingredients together, then cut in the shortening using forks until you have pea sized pieces. Add the eggs and vinegar and mix some more. Then take one tablespoon at a time of the water and add it to a small part of the crust and mix it until it’s crust-like. Do that until you’ve gotten the whole crust. Then split it in half, flour a table and roll the halves out to make your bottom and top crusts.

Bake at 400

Preheat the oven first. Put the bottom half of the crust in the bottom of your pie tin. Then put in the cherry filling. Then put the top half of the crust on top. Flute the edge and vent the top. Protect the crust with a ring of tinfoil around the edge. Bake for 20 minutes. Take the tin foil off and bake for another 25 minutes. Take it out and let it cool. You did a thing!

Escape Room Map

This project uses 5 (arbitrary) magnetic reed switches in series with a battery and come LEDs. They are embedded in foam-core board, with the map overlaid on top. Some tokens have embedded rare earth magnets, so that when the tokens are placed in the correct location, on top of the switches, the switches are all turned on, which completes the circuit and illuminates some LEDs. The LEDs light up certain parts of the key of the map, which reveals the solution to the puzzle.

https://hackaday.io/project/162191-escape-room-map

Bilexa Bass

Yes, it has been done before, but nobody else has embeded Alexa INSIDE the Billy for a seamless solution. This project uses an ATTiny to perform all the logic, which includes a photoresistor for detecting when the light ring is illuminated, and audio input for detecting the audio, running a DFT (Discrete Fourier Transform), and controlling the mouth and body motors.

See the full writeup here.